Click on "Next" four times (two times if you've previously installed Git). You don't need to change anything in the Information, location, components, and start menu screens.
From the dropdown menu, "Choosing the default editor used by Git", select "Use the Nano editor by default" (NOTE: you will need to scroll up to find it) and click on "Next".
On the page that says "Adjusting the name of the initial branch in new repositories", ensure that "Let Git decide" is selected.
Ensure that "Git from the command line and also from 3rd-party software" is selected and click on "Next". (If you don't do this Git Bash will not work properly, requiring you to remove the Git Bash installation, re-run the installer and to select the "Git from the command line and also from 3rd-party software" option.)
Select "Use bundled OpenSSH".
Ensure that "Use the native Windows Secure Channel Library" is selected and click on "Next".
Ensure that "Checkout Windows-style, commit Unix-style line endings" is selected and click on "Next".
Ensure that "Use Windows' default console window" is selected and click on "Next".
Ensure that "Default (fast-forward or merge) is selected and click "Next".
Ensure that "Git Credential Manager" is selected and click on "Next".
Ensure that "Enable file system caching" is selected and click on "Next".
Click on "Install".
Click on "Finish" or "Next".
This will provide you with both Git and Bash in the Git Bash program.
If your "HOME" environment variable is not set (or you don't know what this is):
Open command prompt (Open Start Menu then type cmd and press Enter).
Type the following line into the command prompt window exactly as shown:
setx HOME "%USERPROFILE%"
Press Enter, you should see SUCCESS: Specified value was saved.
Quit command prompt by typing exit then pressing Enter.
macOS
You can access Bash from the Terminal (found in /Applications/Utilities). You may want to keep Terminal in your dock for this class.
Recent versions of macOS (starting with Catalina 10.15) ship wth zsh as the default shell but also have Bash installed. You can either type bash in the terminal to switch to Bash or change permanently to Bash by executing the following command in the terminal:
chsh -s /bin/bash
(and enter your password when asked).
In earlier versions, the default shell is Bash, so no need to install or change anything.
Linux
The default shell is usually Bash, but if your machine is set up differently you can run it by opening a terminal and typing bash. There is no need to install anything.
ChromeOS
ChromeOS is the operating system from a Chromebook.
In order to install software for the class on a Chromebook you need to first enable the Linux system on the Chromebook, following the instructions below. (You can check How to enable Linux on your Chromebook (and why you should) to enable Linux.) This will, amongst other things, install the Bash shell.
We found that you can enable Linux on Chromebook, and it will just work as a Linux system. Please follow the instructions to enable Linux, which can be summarized as:
open your system’s Settings
look for Linux (Beta) on the sidebar
turn on Linux support: Follow the instructions on screen to configure the Linux environment (for most people, accepting the default values should be enough). Your Chromebook will then download the tools to create the Linux environment and configure it for you.
Once the Linux environment has been set up, you’ll see a new terminal window popping up.
In the Terminal, run the following commands to install some needed Linux packages
Terminal is an application in the Linux folder that gives you access to the command line. It runs the bash shell (which is what we need for the class).
Keep a shortcut for Terminal handy.
(You can also run Terminal inside VS Code although we commonly open it as a separate application.)
Installing missing packages with apt-get
apt-get is the package manager that knows where to find software packages and how to install them.
If you later find that something is missing, you can install it with
sudo apt-get install PACKAGE_NAME
where PACKAGE_NAME is the name of the package (e.g., “git”).
Git
Git is a version control system that lets you track who made changes to what when and has options for easily updating a shared or public version of your code on github.com. You will need a supported web browser (current versions of Chrome, Firefox, Safari, Microsoft Edge, or Internet Explorer version 11 or above).
Windows
Git should be installed on your computer as part of your Bash install (described above).
macOS
Recent versions of macOS should have git already installed (or you had it installed together with Xcode). Check on the command line by running the command
git version
If this gives an output such as git version 2.41.0 then you have git.
For older macOS/Mac OS X 10.9 and higher, install Git for Mac by downloading and running the most recent “mavericks” installer from this list. Because this installer is not signed by the developer, you may have to right click (control click) on the .pkg file, click Open, and click Open on the pop up window. After installing Git, there will not be anything in your /Applications folder, as Git is a command line program.
Linux
If Git is not already available on your machine you can try to install it via your distro’s package manager. For Debian/Ubuntu run
sudo apt-get install git-all
and for Fedora run
sudo dnf install git-all
ChromeOS
You should have the bash shell and git already installed.
If git is missing, install it with
sudo apt-get install-y git
in the Terminal.
Text Editor
When you’re writing code, it’s nice to have a text editor that is optimized for writing code, with features like automatic color-coding of key words. The default text editor on macOS and Linux is usually set to Vim, which is not famous for being intuitive. if you accidentally find yourself stuck in it, try typing the escape key, followed by :q! (colon, lower-case ‘q’, exclamation mark), then hitting Return to return to the shell.
For this class we will use Visual Studio Code as the default editor. It is free, open source, available on Windows, macOS, Linux, and ChromeOS, powerful but also accessible for entry-level programmers.
Windows
Visual Studio Code is a good editor that is suitable for professional coding but also accessible to newcomers with is graphical user interface.1 To install it, download a suitable installer from code.visualstudio.com and double click on the file to run it. (For more details see Visual Studio Code on Windows.)
macOS
We recommend Visual Studio Code as a good editor that is suitable for professional coding but also accessible to newcomers with is graphical user interface.2
⚠️ If you are using Visual Studio Code then you need to install the code command so that we can launch Visual Studio Code from the command line:
Launch Visual Studio Code.
Open the Command Palette (Cmd+Shift+P).
Type “shell command” to find Shell Command: Install code command in PATH command.
Restart the terminal for the new $PATH value to take effect.
You’ll be able to type code . in any folder to start editing files in that folder. (For more details see Launching from the command line.
Linux
We recommend Visual Studio Code as a good editor that is suitable for professional coding but also accessible to newcomers with is graphical user interface.3
Please follow the instructions on Visual Studio Code on Linux and ask an instructor for help if anything is unclear.
Python is a popular language for scientific computing, and great for general-purpose programming as well. Installing all of its scientific packages individually can be a bit difficult, so we recommend Anaconda, an all-in-one installer.
Regardless of how you choose to install it, please make sure you install Python version 3.x (e.g., 3.9 or 3.10 is fine).
We will teach Python using the Jupyter notebook, a programming environment that runs in a web browser. For this to work you will need a reasonably up-to-date browser. The current versions of the Chrome, Safari and Firefox browsers should all be supported (some older browsers, including Internet Explorer version 9 and below, are not).
Windows
The installation has two steps:
Download and install the anaconda distribution.
Modify a Git Bash startup file so that you can easily use the programs in the anaconda distribution from the Git Bash command line.
Download the Python 3 64-Bit installer for Windows.
Install Python 3 using all of the defaults for installation except make sure to check Make Anaconda the default Python.
Modify Git Bash startup file for anaconda
The next step is a hack that ensures that you can call python and any other commands from the anaconda distribution (such as conda) from the Git Bash command line.
We are adding additional information to your bash shell startup file so that Anaconda will be found.
⚠️ These instructions assume that you installed Anaconda3 in the default location (C:\Users\YOUR-USERNAME\anaconda3)— if you changed the location in the installation process then you will have to change the content of the MYCONDA variable below to use your custom location (ask an instructor for help if you are unsure how to do this).
The following commands must be typed exactly in Git Bash:
open Git Bash (from the Start Menu)
type
cd
echo$HOME
(always hit RETURN after typing a command)
You should see output such as /c/Users/YOUR-USERNAME (where “YOUR-USERNAME” stands for your user name, e.g., “alice”, “bob”, or “dvader”)
type exactly (or copy & paste — you paste with right-mouse click in Git Bash):
cat>>$HOME/.bash_profile <<'EOF'
# PHY432 bash startup for local Anaconda
MYCONDA="$HOME/anaconda3"
export PATH="$MYCONDA:$MYCONDA/Scripts:$MYCONDA/Library/bin:$PATH"
unset MYCONDA
EOF
close Git Bash
open a new Git Bash (this is important so that the changes take effect)
type
which conda
Should print something like /c/Users/YOUR-USERNAME/anaconda3/Scripts/conda.
⚠️ If the last step did not work then ask an instructor for help. You can also look at the detailed explanation in the PHY432 troubleshooting wiki, solution: pip or python are not found in git-bash.
Download the Python 3 installer for Linux. (Most likely the 64-Bit (x86) Installer is correct for your laptop.)
Install Python 3 using all of the defaults for installation. (⚠️ Installation requires using the shell. If you aren't comfortable doing the installation yourself stop here and request help.)
Open a terminal window.
Type
bash ./Anaconda-
and then press tab. The name of the file you just downloaded should appear.
Press enter. You will follow the text-only prompts. When there is a colon at the bottom of the screen press the down arrow to move down through the text. Type yes and press enter to approve the license. Press enter to approve the default location for the files. Type yes and press enter to prepend Anaconda to your PATH (this makes the Anaconda distribution the default Python).
ChromeOS
Because ChromeOS only reserves a relatively small virtual disk for Linux we will not install the full Anaconda installation. Instead we install the small miniconda installer and then only install the packages that we need for the class. But you can easily install any other packages that you might need yourself.
Install miniconda
We generally follow the original installation instructions for Linux but we will manually download the installer because we cannot easily transfer a downloaded file from Chrome’s download folder to the Linux system.
Open the Terminal.
Create a download directory in your home directory
cd
mkdir-p Downloads
Change to the Download directory
cd Downloads
In your Chrome web browser: Obtain the download link for latest Miniconda3 installer:
Execute the wget command. You should see download progress.
(wget downloads from the commandline instead of using the browser.)
You now have the installer file Miniconda3-py310_22.11.1-1-Linux-x86_64.sh in your Downloads directory (your name may be different but always start with “Miniconda3-“). Run the installer with
bash Miniconda3-*-Linux-x86_64.sh
Press Enter to review the license agreement. Then press and hold Enter to scroll.
Enter “yes” to agree to the license agreement.
Use Enter to accept the default install location. (It will show something like /home/YOUR_USERNAME/miniconda3.)
The installer prompts you to choose whether to initialize Anaconda Distribution by running conda init. Enter “yes”.
The installer finishes.
Close and reopen Terminal.
(You need to open a new Terminal so that the changes can take effect that the installer made so that all conda packages are found.)
You can delete the miniconda installer unless you want to later re-install.
Install Python packages for the class
We need a number of packages. In the following we install all of them at once but if you have issues with the process timing out then execute each installation separately.
Once you have installed everything, go through the individual steps below and executed every command. Compare what happens in your case to what is described.
⚠️ If you don’t get equivalent output, ask an instructor for clarification or help.
Bash shell
Open a terminal (macOS, Linux) or open Git Bash (under All Programs/Git/Git Bash) in Windows.
Type
echo$SHELL
Should show /bin/bash or /usr/bin/bash (or similar).
We use “shell” and “terminal” (and “console”) pretty much interchangeably.
Git
In the shell, type
git --version
which should show something like git version 2.7.0.
editor (Visual Studio Code)
First time
Open Visual Studio Code using your GUI
Windows: from the start menu
macOS: from the Application folder
Linux: varies (but you might be able to skip to “From the shell”)
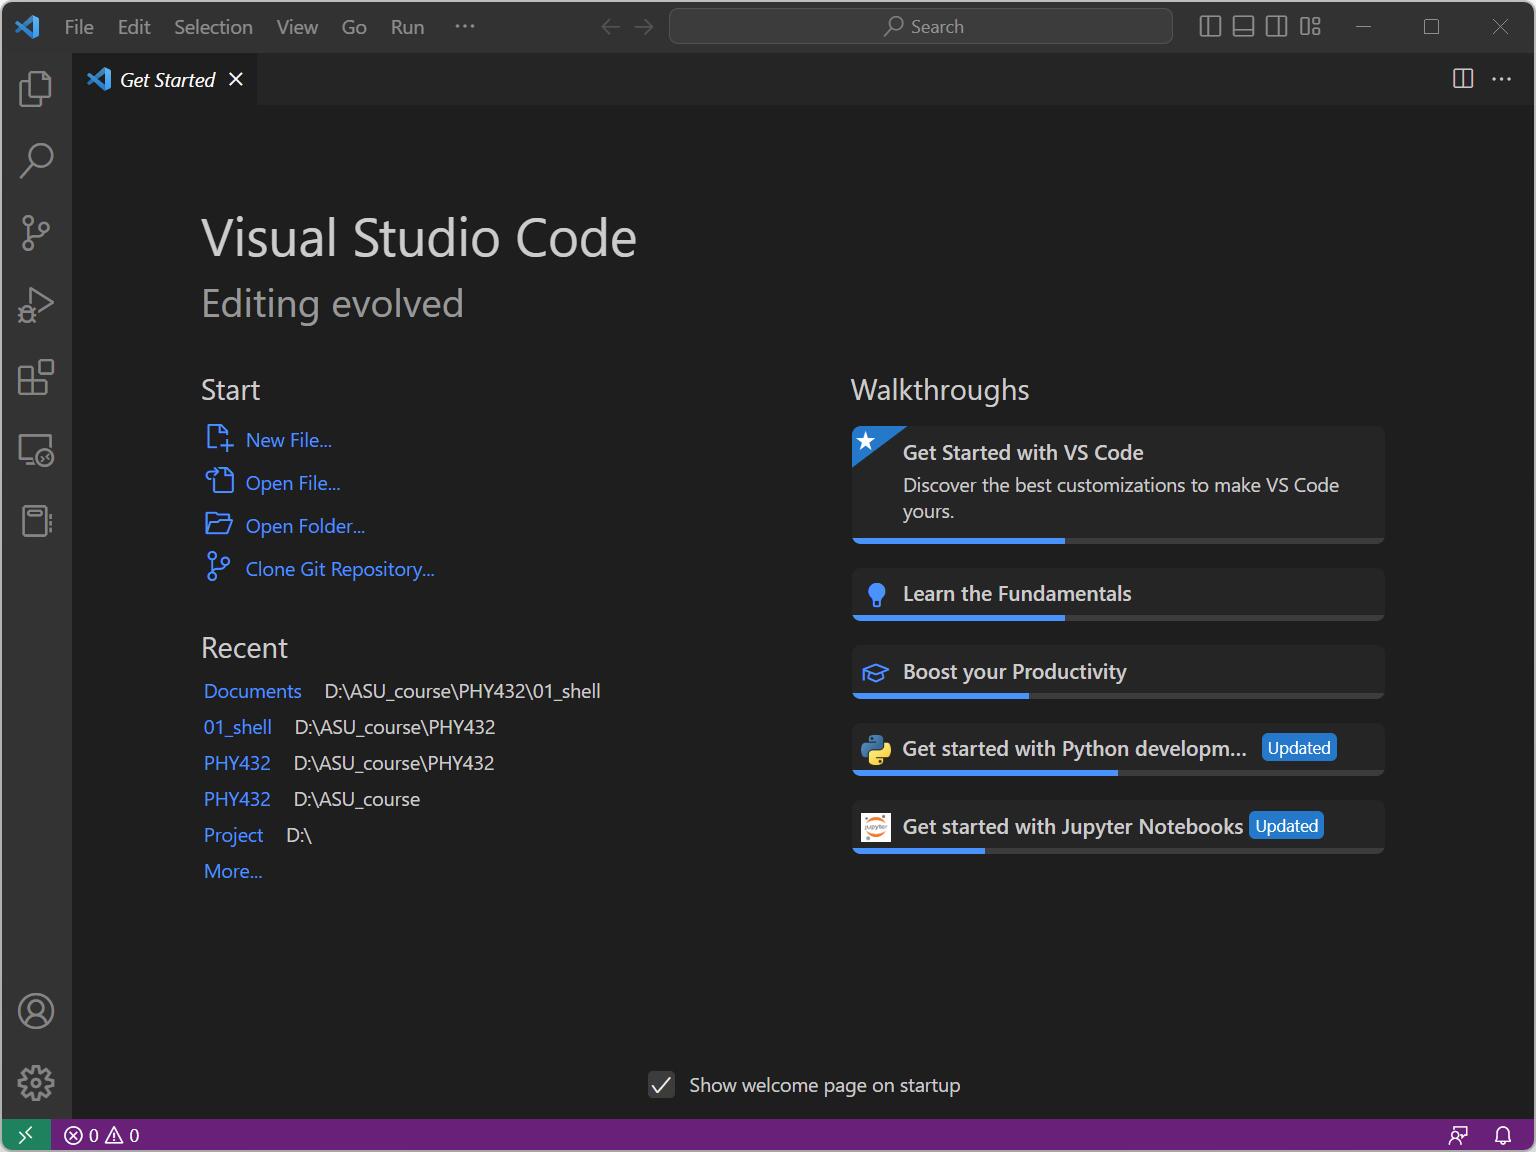
A window should open showing the Visual Studio Code logo and get started screen, similar to
Then exit the editor again (Exit from the menu or close the window).
From the shell
In the shell, type
code
It should open the editor. Exit the editor.
Python
python interpreter
In the shell, type
python -c'import sys; print(sys.version)'
which should give something similar to Python 3.8.5 (default, Sep 4 2018, 07:30:14) (and more stuff). Important: You should have Python 3, i.e., a version like 3.8.x or 3.10.x
Also try
which conda
which python
which should give something similar to /homes/USERNAME/anaconda3/bin/conda, /homes/USERNAME/anaconda3/bin/python
On macOS, if you get the error OSError: [Errno 49] Can’t assign requested address you might need to use jupyter notebook --ip=127.0.0.1
Wrong conda is used. Check which conda in the terminal: it should show a path in your home directory (e.g., for user “physics”: Windows: /c/Users/Physics/anaconda3/conda, macOS: /Users/physics/anaconda3/conda, Linux: /home/physics/anaconda3/conda). Try exiting the terminal and open a new terminal (or Git Bash) and try again. Changes to PATH only take effect when a new shell is opened.
Others editors that you can use in Windows are Notepad++ or Sublime Text. Be aware that you must add its installation directory to your system path. Please ask your instructor to help you do this. ↩
Alternative editors for macOS: If you don’t want to use VS Code, you can always use nano, which is a basic editor. It should be pre-installed. Others editors that you can use are Text Wrangler or Sublime Text. ↩
Alternative editors for Linux: nano is a basic editor. It should be pre-installed. Others editors that you can use are Gedit, Kate or Sublime Text. More old-school (but very powerful) are Emacs and Vim (both of which come with a steep learning curve) ↩